-
Hover the mouse over the Identify Widget and click the small edit icon

The configuration window for this widget opens.
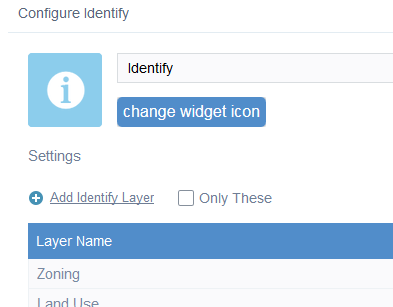
- Optionally, click change widget icon if you want to replace the default icon for this widget.
A file explorer window opens allowing you to browse to a local image file to use as the widget icon.
- Click Add a Identify Layer under Settings.
The new identify layer dialog opens. Now enter the Identify URL of the service layer that you wish to use in the widget.

Once you have entered the url, click into another field or press enter on the keyboard in order to load the layers fields into the Available Fields grid.
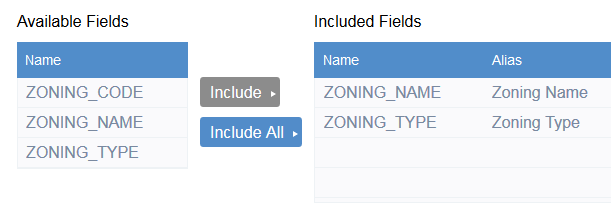
- Select individual fields from the Available Fields grid and click the Include button or just click the Include All button to add all the available fields to the Included Fields grid.
- Next choose which fields to be PopUp Only fields by selecting the check box for that field. The purpose of this option is to minimize the text displayed in the widgets results window to the essential information from the identify operation and then the popup only fields will appear in the popup.
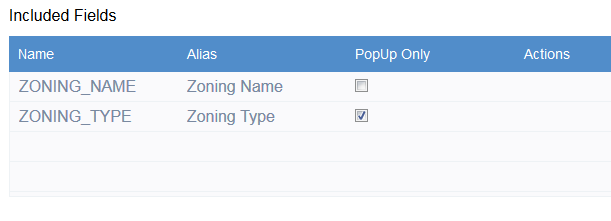
- Give your layer a Name to differentiate this layer from others in the widgets dialog.
- Optionally check the Force Scale checkbox and specify the Zoom Scale if you want to for the map to a certain scale when the identify result is clicked on.
- Optionally add link(s) to your identify layer by clicking the Add Link button.
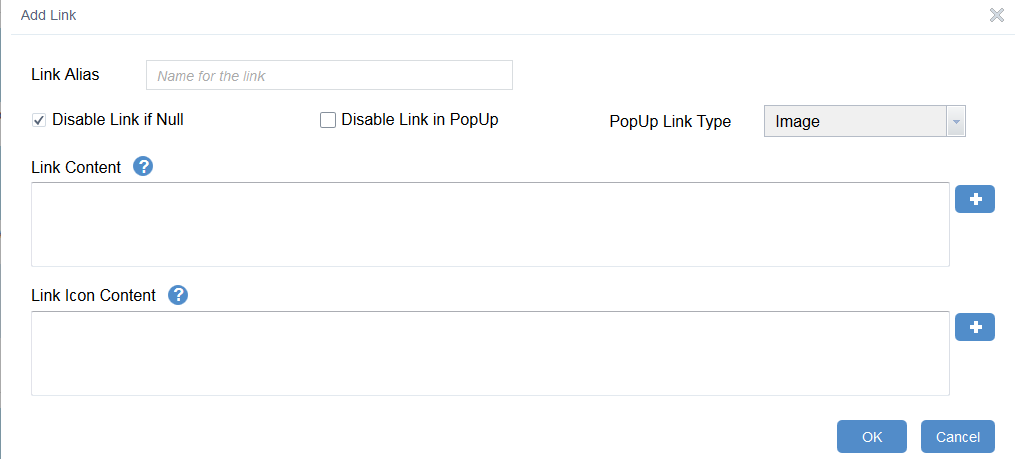
Give the link an alias and configure the other link options like Disable Link if Null which will prevent the link from showing in the widget if the link field is null, and Disable link in PopUp (self-explanatory), and PopUp Link Type which assigns the link as a text hyperlink in the popup or and image link.
Set the Link Content by assigning static text that represents the link url (i.e. http://www.esri.com) or clicking the Plus button to add a field from the search layer that contains the link url. Do the same for the Link Icon Content.
- Click the OK to complete the adding the identify layer step.
- Optionally, click the Add Exclude Identify Layer.
The add exclude identify layer dialog opens, allowing you to specify layers that are in the map that should be excluded from the identify results if the Only These option is not checked.

- Optionally, click the
Edit General Settings.
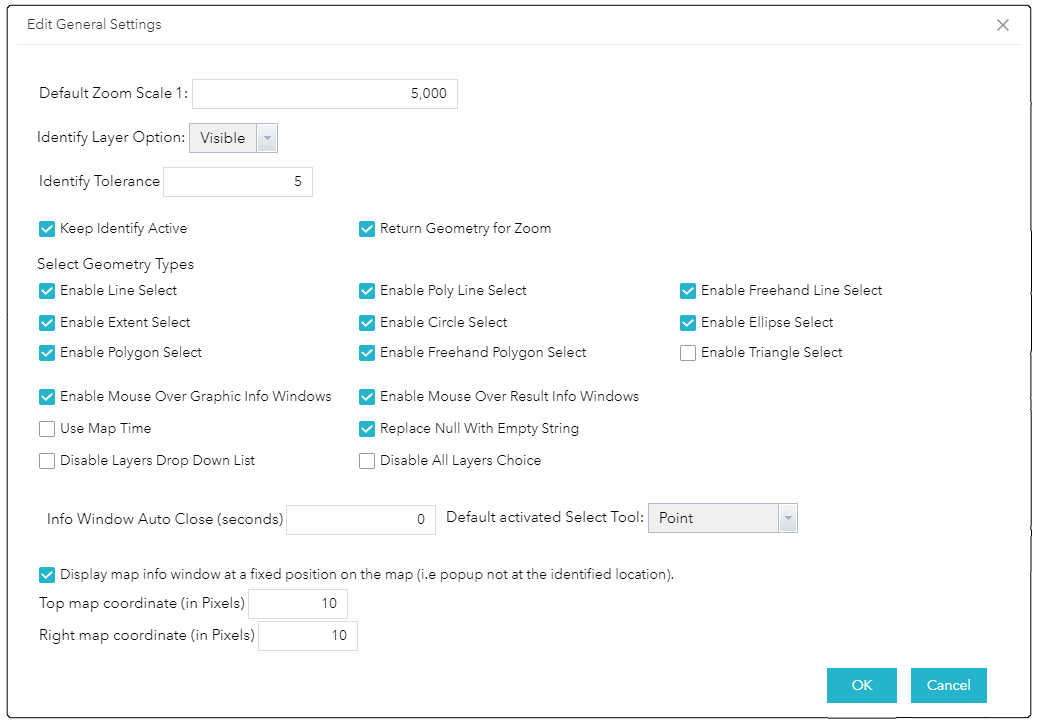
- Optionally, define the Default Zoom Scale.
The Default Zoom Scale is used when zooming to identify results that are point geometry or when you have not checked the Return Geometry for Zoom.
- Optionally, choose the Identify Layer Option.
The Identify Layer Option is used to specify if only the visible, top most, or all the layers will be identifed.
- Optionally, set the Identify Tolerance.
The Identify Tolerance is the distance in screen pixels from the specified geometry within which the identify should be performed.
- Optionally, check the Keep Identify Active and Return Geometry for Zoom.
The Keep Identify Active option specifies that when an identify operation is completed that the drawing tool that is currently selected in the widget will remain active and will not be automatically disabled. This feature allows you to continue to identify multiple features on the map without having to re-select your identify geometry type each time.
The Return Geometry for Zoom option is pretty self explainatory. If this option is not cheked then the default zoom scale will be used to zoom to the identify geometry that was drawn to get the results. - Optionally, check the Select Geometry Types check boxes that you want to appear in the widgets UI.
- Optionally, check the Enable Mouse Over Graphic Info Windows and Enable Mouse Over Result Info Windows check boxes.
Enable Mouse Over Graphic Info Windows will allow the maps info window to appear when you hover the mouse over the result graphic in the map.
Enable Mouse Over Result Info Windows will display the maps info window when you hover the mouse over the identify result in the widgets results UI. - Optionally, check the Use Map Time and Replace Null With Empty String check boxes.
Use Map Time will allow the identify results to be confined to the maps time extent when the map is time enabled.
Replace Null With Empty String will display an empty string value in the results instead of the word null or undefined. - Optionally, check the Disable Layers Drop Down List and Disable All Layers Choice check boxes.
Disable Layers Drop Down List will remove the Identify From drop down box in the widgets UI, that allows the user to specify that they only want to identify features from that one selected layer.
Disable All Layers Choice will remove the all layers option from the Identify From drop down box in the widgets UI.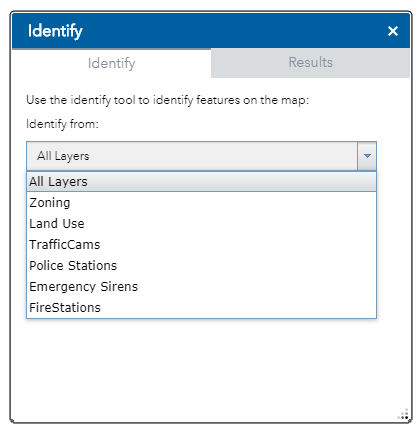
- Optionally, set the Info Window Auto Close (seconds) and select a Default activated Select Tool.
Info Window Auto Close (seconds) sets the number of seconds that the info window will remain open for when not hovering over the result, graphic, or info window itself. If you set this value to 0 then the info window will not auto close.
Default activated Select Tool specifies which tool will be activated by default when the widget opens, to allow the user les clicks to get identifying. - Optionally, check the Display map info window at a fixed position on the map (i.e popup not at the identified location).
Setting the Top map coordinate (in Pixels) and Right map coordinate (in Pixels) forces the map info window to show at a fixed position on the map instead of a location based on the identify results graphic.
- Optionally, define the Default Zoom Scale.
- Optionally, click the
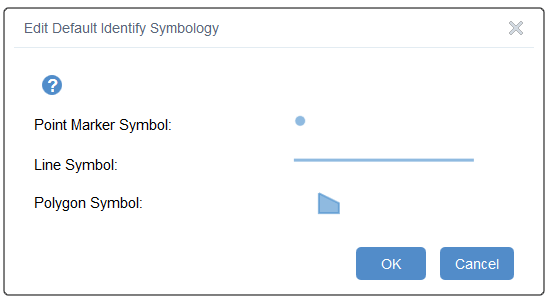
Edit Default Identify Symbology.
The default symbology dialog opens, allowing you to choose the color and style for the identify result symbol.
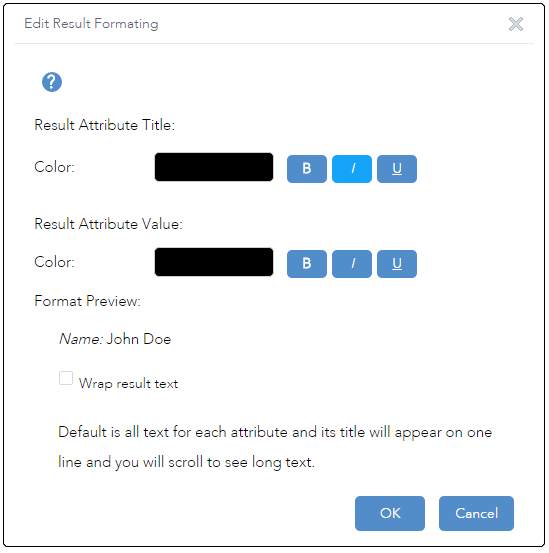
- Optionally, click the Edit Result Formatting.
The result formatting dialog opens, allowing you to choose the color and style for the identify result text.
- Click the OK to complete the widgets configuration.
Using the Identify Widget
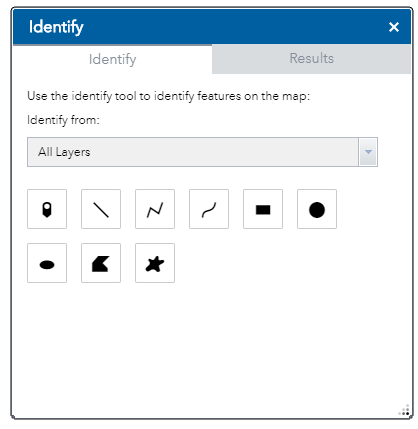
Clicking the Identify Widget in your application displays the widget. Depending on the Default activated Select Tool choice that was made during configuration the configured identify geometry type will be selected.
Use of the widget can begin imediately by drawing on the map and the identify operation will begin.
|
- • If you configured Keep Identify Active then when you complete your identify operation the last selected draw tool will remain active for you to continue identifying features on the map.
- • If you want to limit the results to one specific configured layer then you just need to change the Identify From drop down box in the widgets UI to that specific layer.

|
Results
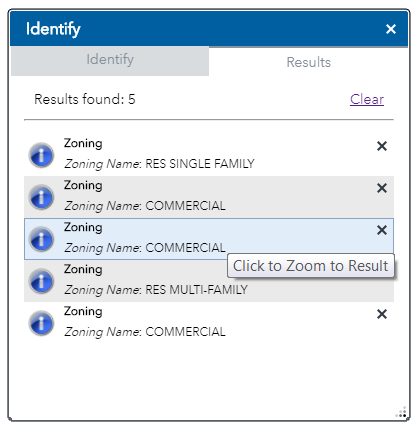
The Results view lists all the identified features and thier attributes that have been configured or if Only These is false or not fields were specified for the layer then all the attributes for the identified feature will be listed.
|
- • Each result will have a remove button to allow you to remove un wanted results from the result list.
- • If you configured any formatting for a attribute field like number, curency or date then the results will show that formatting.
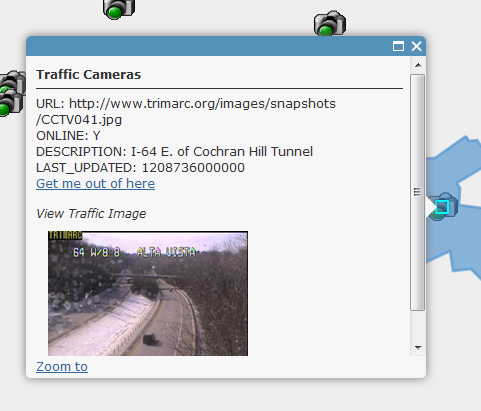
- • If you configured any links for the result layer then those links will appear in the results as a image at the bottom of that specific result or in the content of the result attribute if the link type was text.
- • You can click on any of the individual results in the list to zoom to that results location.
- • If you selected Enable Mouse Over Result Info Windows then when mousing over the result will cause the maps info window to display.
- • The Clear link will remove all the returned results from the map and the widget.
|